I'm in the mood to be creative
So I think I'll make a new tote and maybe matching purse when I'm finished. I've made a couple of purses (Denim & Pink) and wallets to match.
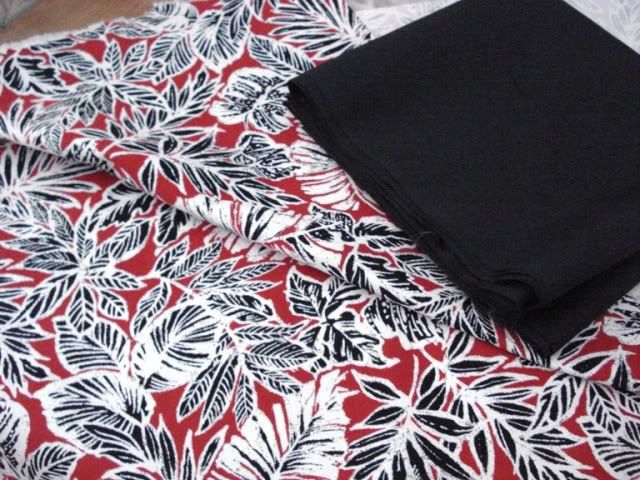
Hancocks was having a sale, so I went in and got at least two yard of the main fabric and lining and two sets of machine needles for under $25. Not bad price wise for two bags.
Here are the fabrics I chose for this bag. The print is a stiffer fabric that has a light canvas feel and the black for the lining is just a plain broadcloth.
My plans are to use a Fossil tote as a guide. It's a good size. Leather straps could be more comfortable. I really like the little end pockets and the one on the front, so I think I'll keep those in addition to putting as many pockets inside as possible. The other thing I don't like about most bags this size is that there is no flap or zipper and when they tip over stuff falls out. So mine will have one or the other. One of the great things about making your own purses is you can decide that later!
I toyed with putting a box in the bottom of it. Most totes do not stand up (as in they fall over) well so I may look around the house and see what I've got that can make it sturdier for standing. I decided against just a plain old box though for several reasons. First was if it gets bend inside the tote and loses it's firmness then I've just got junk to carry. Second was thinking about it getting wet. Unless of course I could figure out a way to cover one that could slip in and out. mmmmmm now that's a thought.
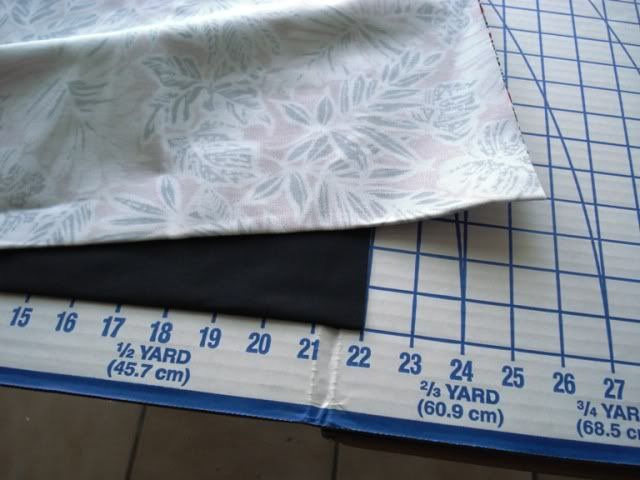
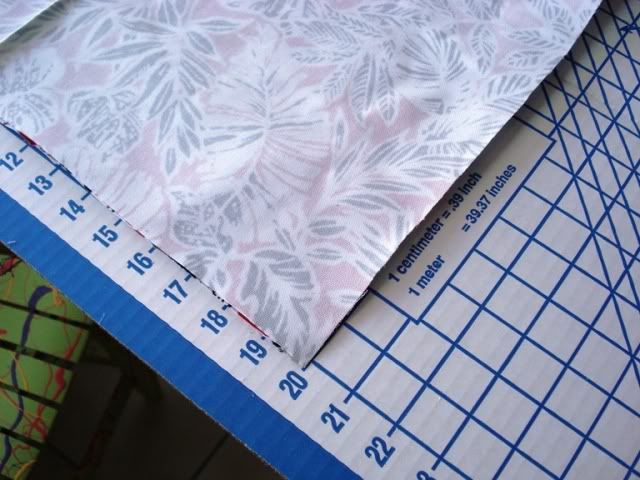
First cut is at 22" wide. Some of this will be lost in the sides. Height of the bag at this cut is 20". I cut two layers of the lining which I may not need, but seemed prudent right now.
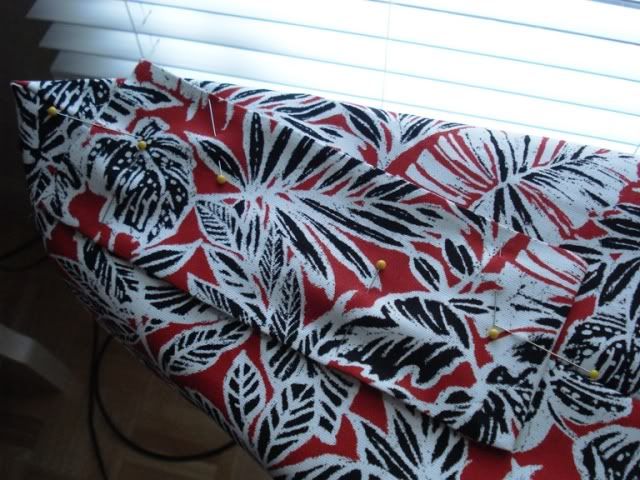
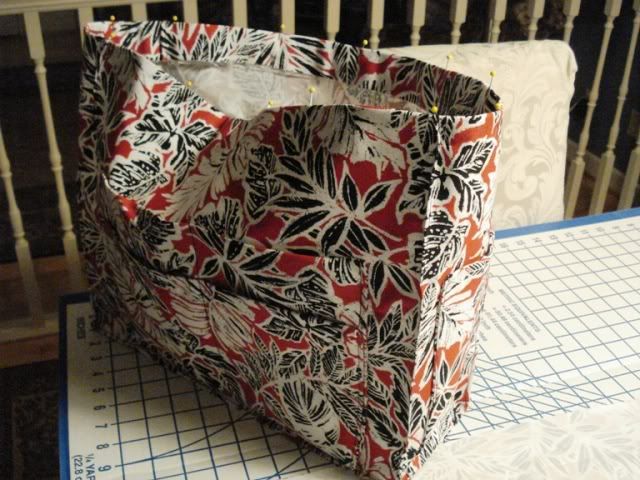
I sewed the outside together and two end outside pockets. Then everything so far gets turned and pressed. Pockets are pinned to the outside before the bottom is created so that the raw pocket end can be caught in that seam. Seems like a lot of pins for such a little piece . . .

After the end pockets are sewn on then the corners are made. I'm also going to top stitch some of the outside edges to give the bag a squarer look, and hopefully help with that standing issue.
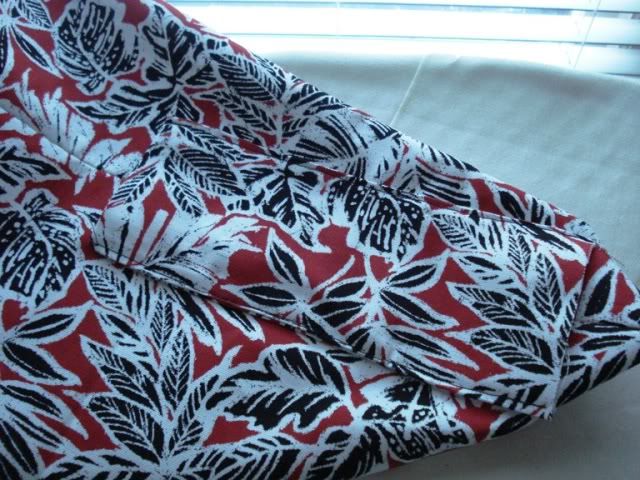

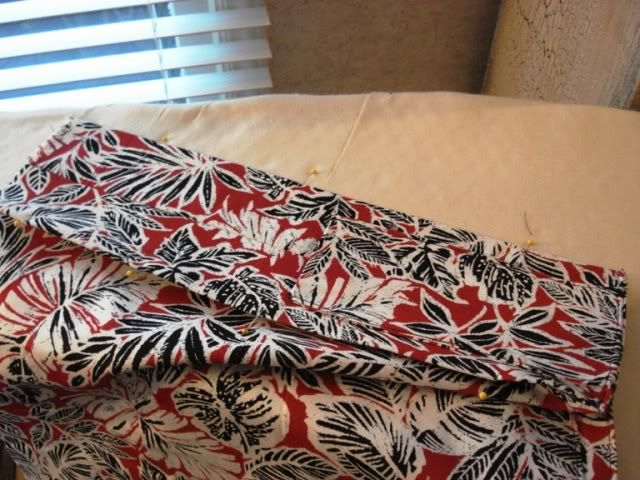
Outside side pockets are ready to put on. It's a 12/12 doubled square that I turned once to get two layers of pockets.

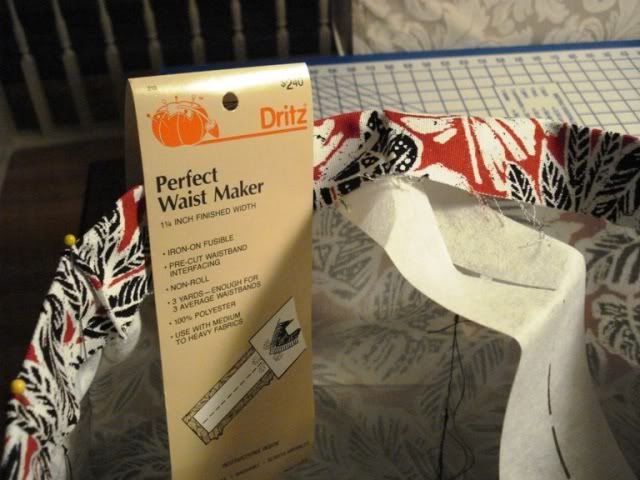
I put some waist maker around the top to help make it a bit sturdier.
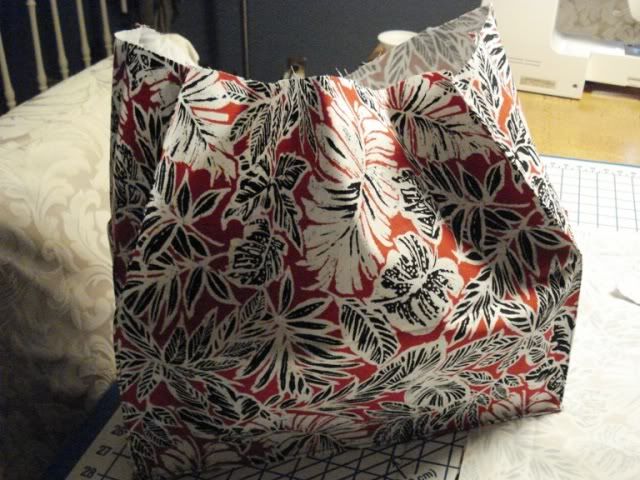
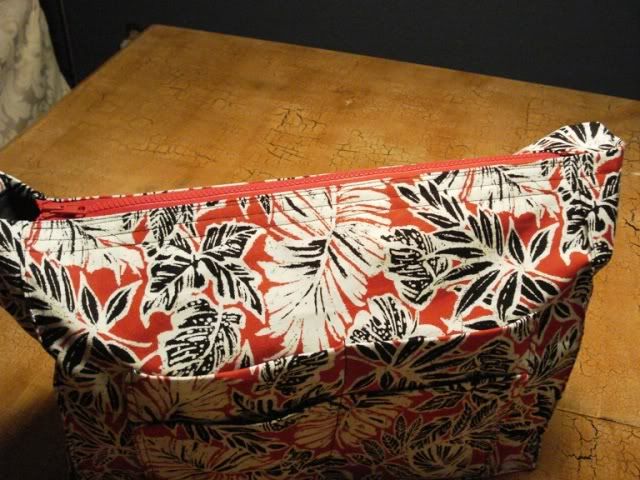
Here's the purse so far:
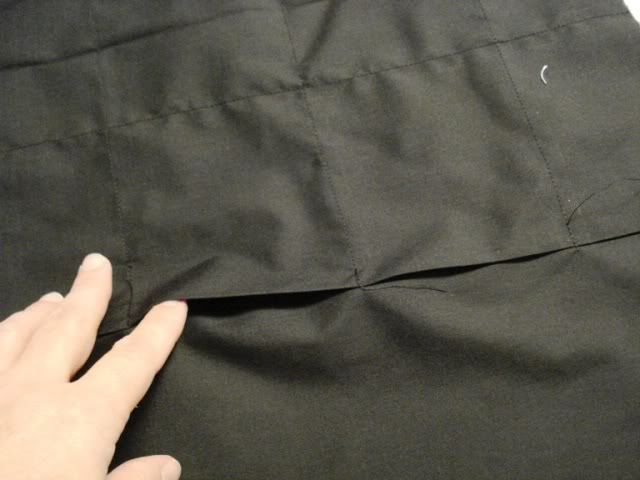
The lining is two identical pieces. One piece is doubled over on the inside for pockets. Then I sewed it together like the outside.
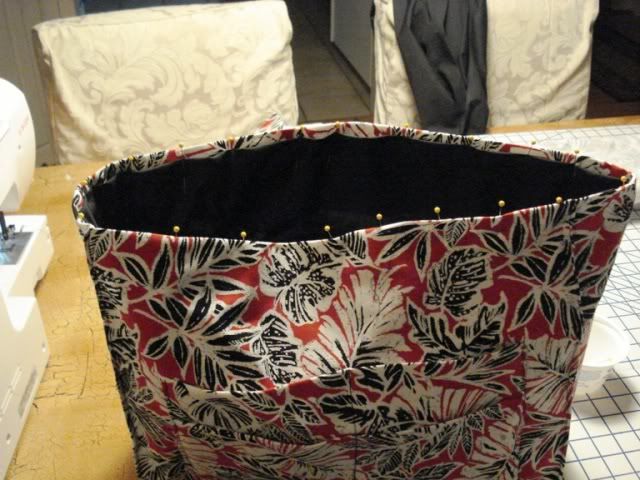
Lining in and now it's pretty much ready finish.
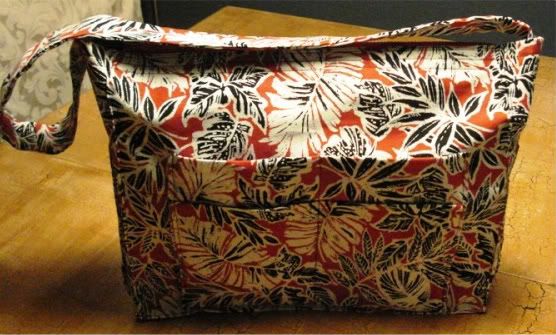
I decided t go with a red zipper for closure.

Edit - I did this yesterday, but uploading the photos last night was a little wonky, so I just left them for today. I'm going to try to get the smaller purse done today.
Really nice. I've made a few bags but without much knowledge.
ReplyDeleteThanks Marcy! Most of what I've learned has been with an idea in my head coupled with material and a pair of scissors!
ReplyDelete[...] do a how-to on this one. If you’d like to see one, here is one Red & Black. There are some others linked from that page including a [...]
ReplyDelete